Photographing Phang Nga Bay from a canoe: practical tips
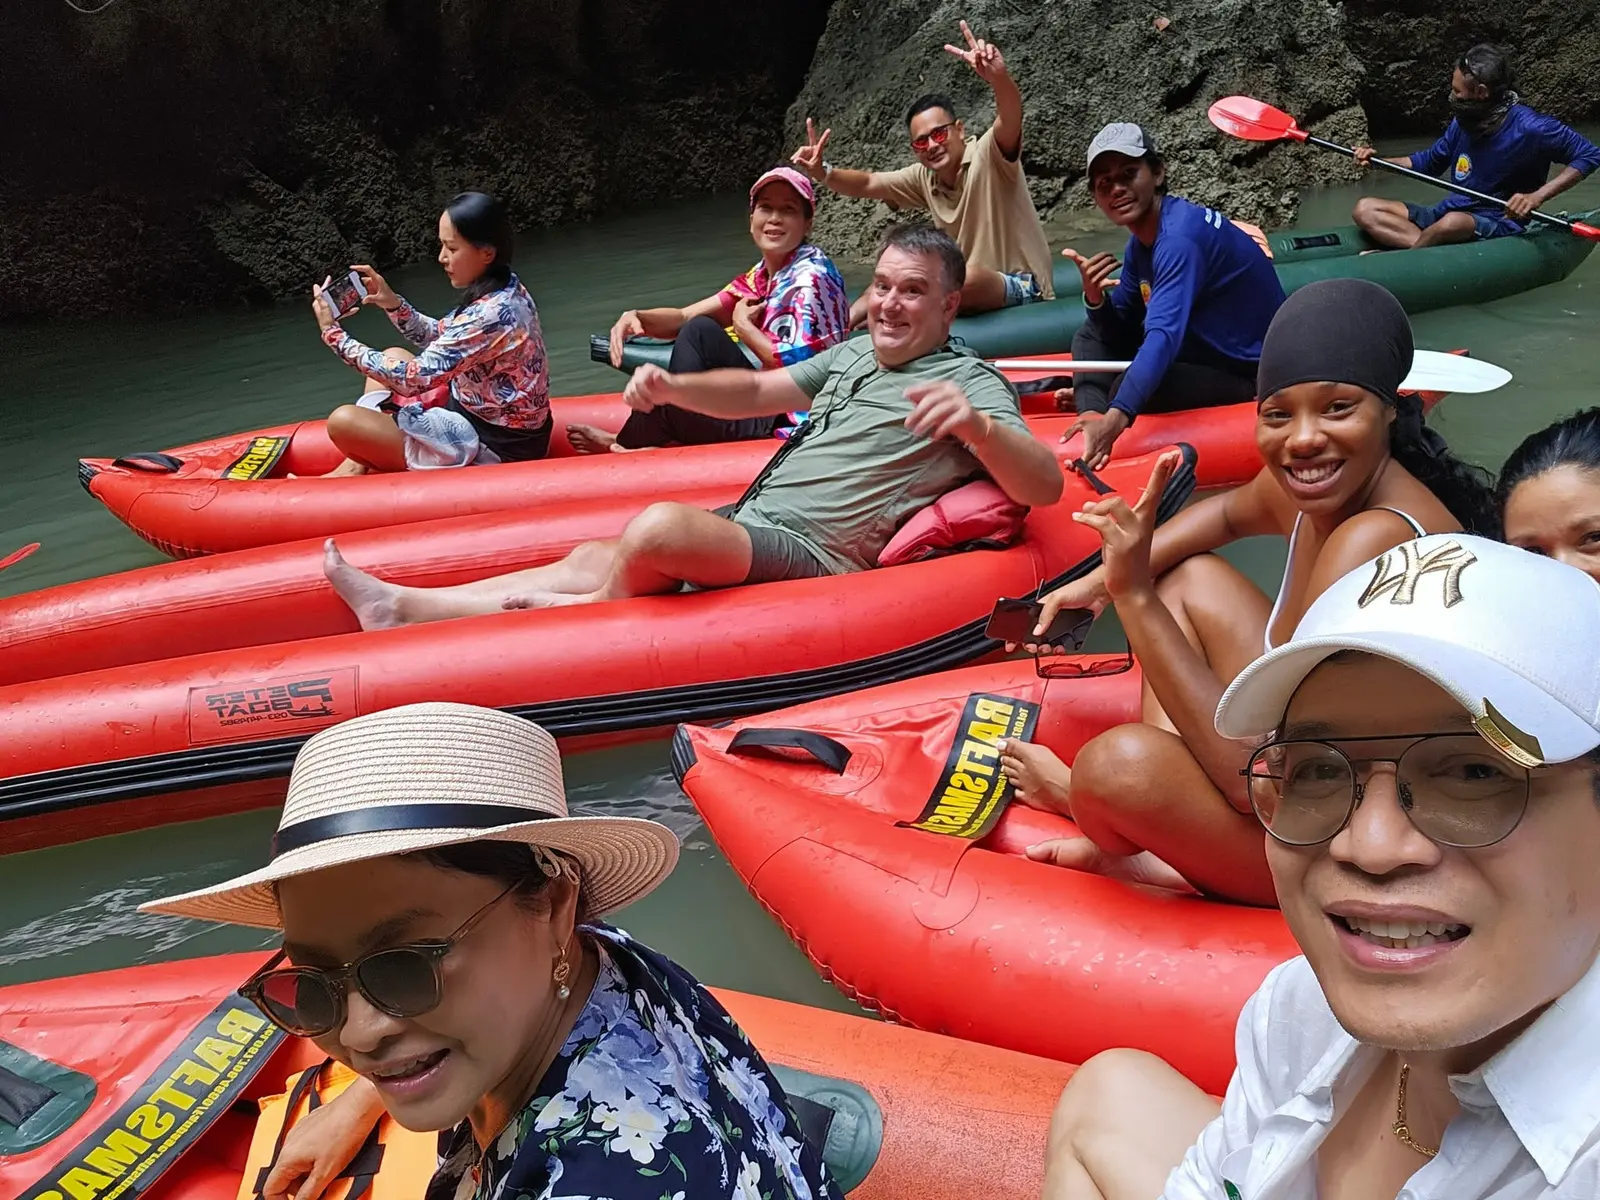
You can bring home memorable photographs of Phang Nga Bay with a phone and a little preparation. Protect the device before boarding, take pictures from your seated position and let the guide’s instructions decide when to put it away. A guided canoe tour offers several different viewpoints, from water level beside limestone cliffs to the wider view from the main boat. These practical suggestions will help you photograph the day without making the camera the centre of it.
Join us on the bay — choose your dateIn this article
Set up your phone before the first canoe outing
Charge your phone before leaving your accommodation and check that it has space for photographs. Clean the lens with a suitable cloth while you are somewhere dry. A fingerprint or a drop of water can soften an otherwise clear picture, and it is easier to deal with these details on the main boat than beside a cave entrance.
Use a waterproof case suitable for your phone, check the closure and practise taking a photograph through it before the trip. Make sure you can operate the camera without opening the case. Water resistance varies between devices and does not make an uncovered phone a good choice around splashes. Keep the setup simple enough that you can put it away promptly when asked.
Dry bags are provided on the Evening Glow tour. Ask the crew how to close yours correctly and keep the contents organised. Avoid bringing several lenses or accessories unless you are comfortable protecting and carrying them throughout the day. Our packing guide covers clothing, footwear and the other items worth bringing.
Compose from your seat and leave the route to your paddler
On the guided sections, a professional paddler handles the canoe. Stay seated and follow their directions, including when to lower your head or put equipment away. Do not stand, lean out or reach towards another canoe for a photograph. If you cannot get the picture comfortably from your position, leave that picture for another opportunity.
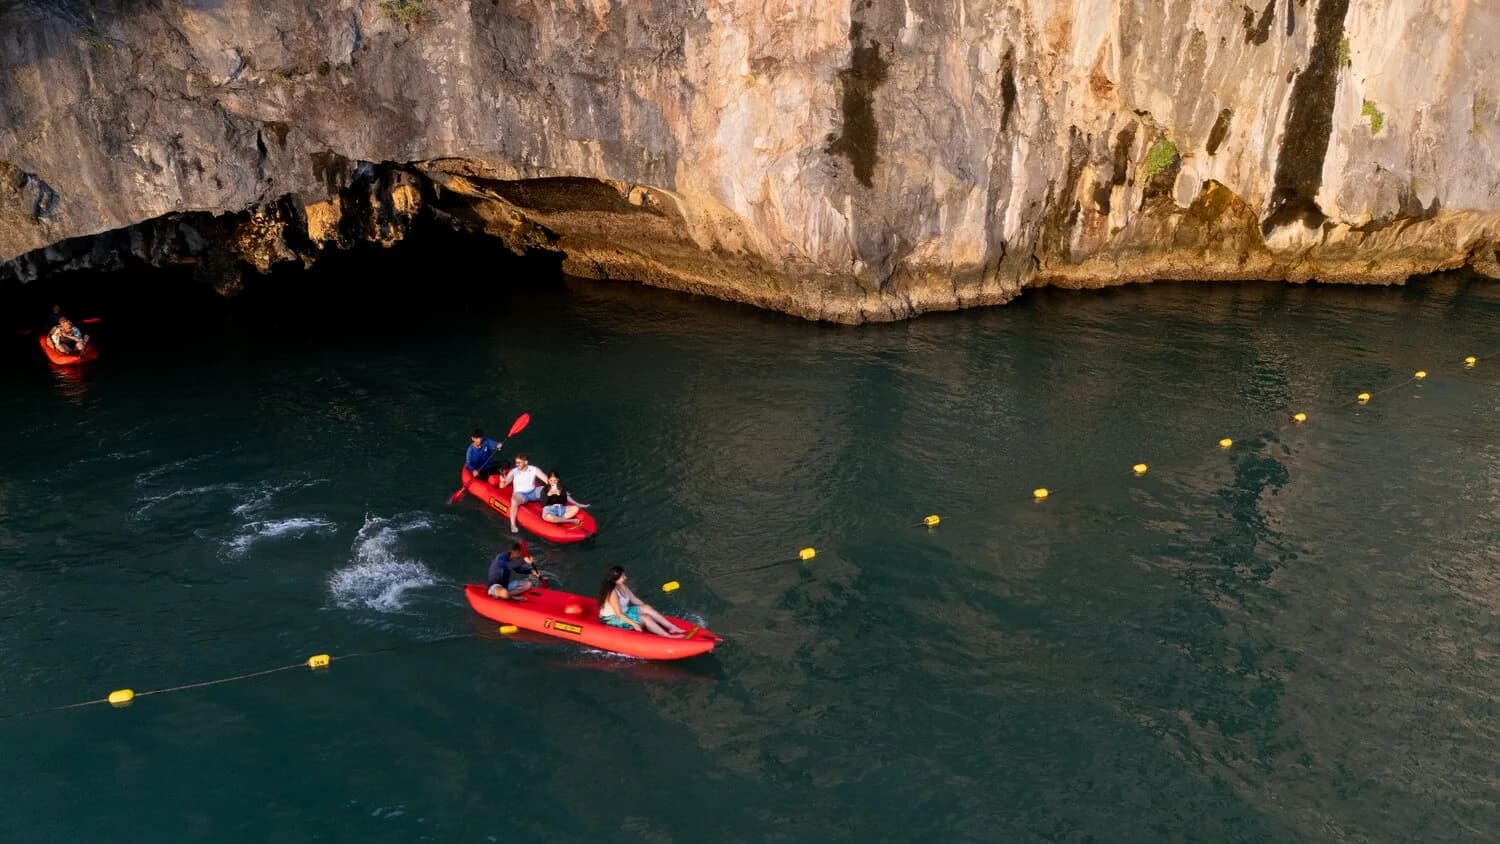
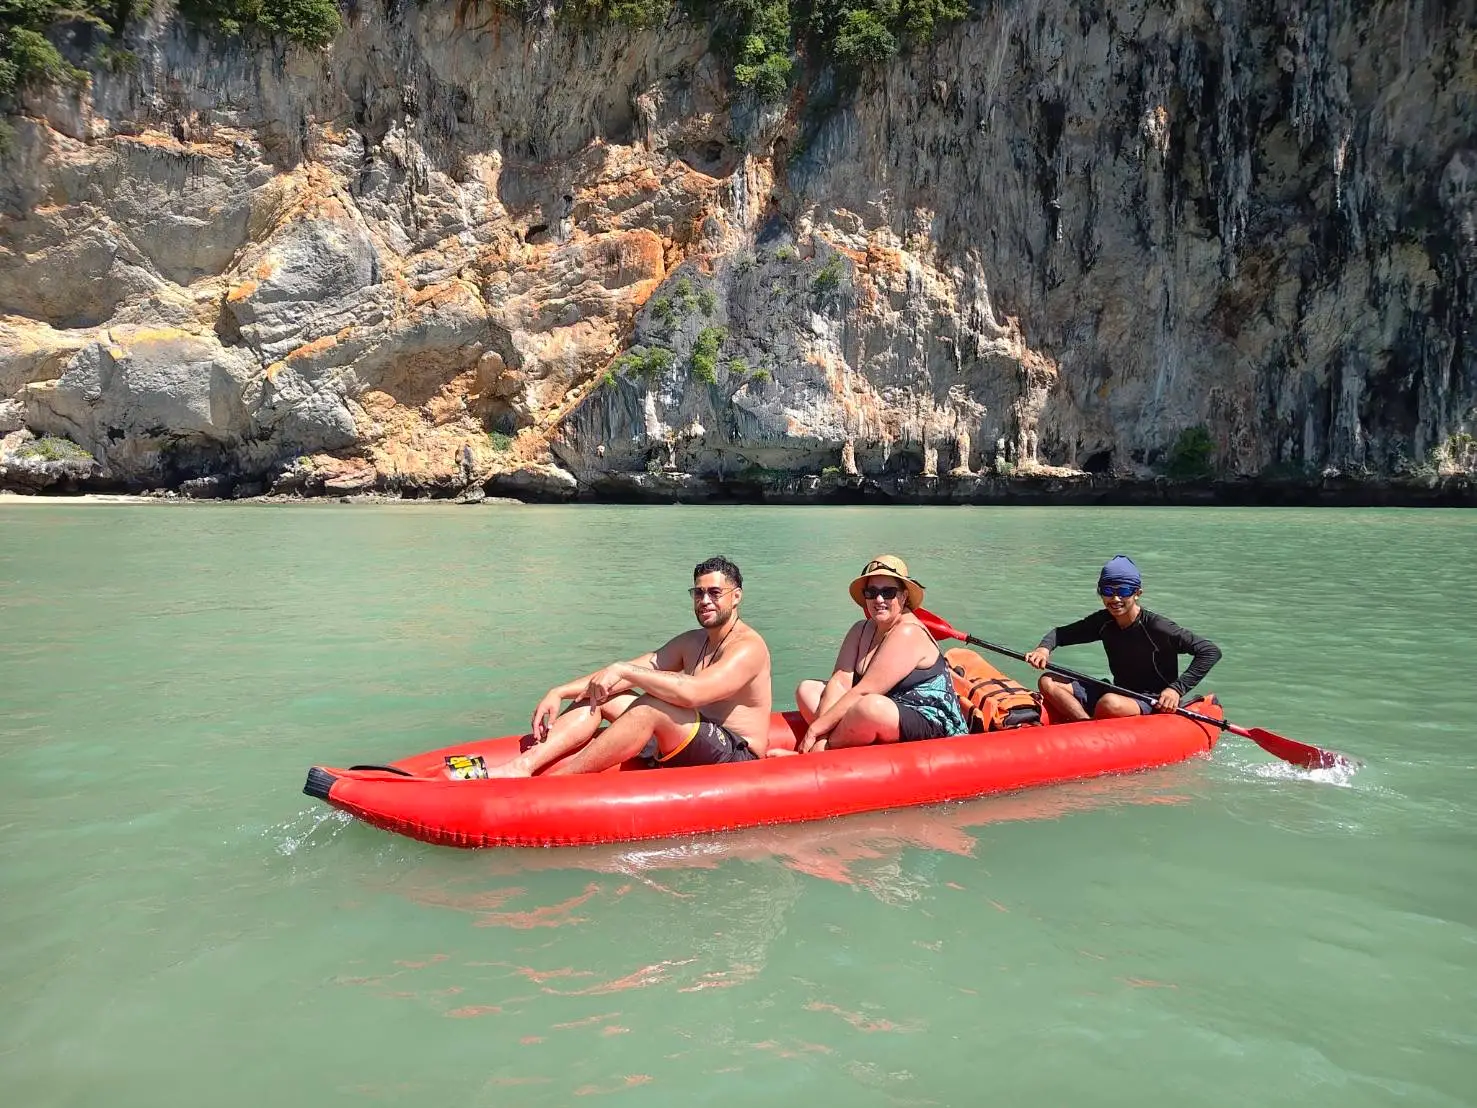
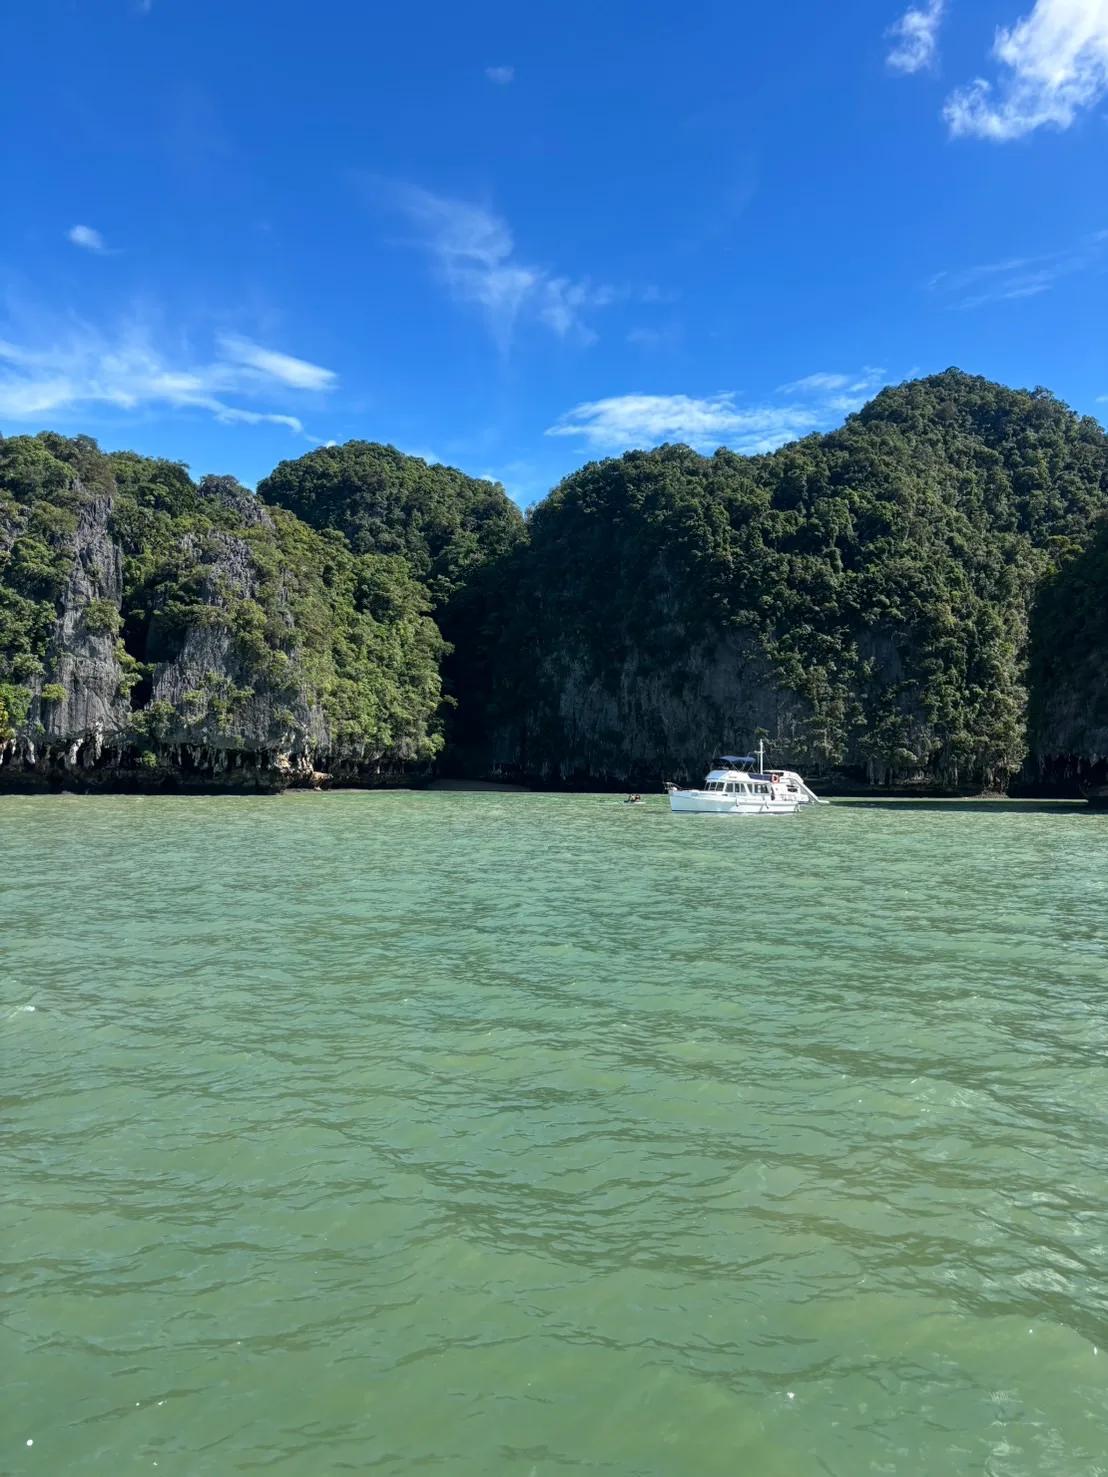
Look for a composition within the view you already have. A canoe in the foreground can show the scale of a cliff, while a little open water can separate people from the rock behind them. Take a wider photograph first, then try a closer view if conditions allow. Avoid asking your guide to enter a passage, approach wildlife or change a safe route to recreate an image you have seen online.
If you would like a photograph of your party, ask when the crew is free to help and accept that the moment may not be suitable. Assistance with a particular photograph should not be assumed. Give other guests room to enjoy the scenery and ask before making someone else the subject of a close portrait.
Notice scale, layers and reflections
Phang Nga Bay is not only a collection of famous landmarks. A wooded shoreline, a small boat beneath a high cliff or a narrow view between two islands can tell you more about how the place felt. Try making a small sequence: one wide view of the setting, one photograph of your group and one closer detail that caught your attention.
Use the camera grid, if your phone has one, to help keep the waterline level. Check the edges of the frame for objects you did not intend to include. Moving the camera slightly while remaining seated may give a clearer view, but there is no need to chase a perfect angle. Reflections change as the canoe moves and the water ripples; they are opportunities to notice rather than arrangements you can control.
A vertical photograph can emphasise the height of a cliff, while a horizontal frame often works well for a broad stretch of bay. Take both when it is comfortable to do so. This gives you useful choices later without needing to crop one image into every shape.
Expect the light to change near cliffs and caves
A bright sky and a shaded rock face can appear in the same frame. On many phones, tapping the part of the image you want to prioritise adjusts focus and exposure. Try a quick test photograph and look at the result. If the sky has lost all detail, lowering exposure slightly may help, although faces or shaded areas can become darker in return.
Inside shaded passages, your camera may need more time to gather light. Keep the phone as steady as you comfortably can, and recognise that a moving canoe limits what a long exposure can achieve. Automatic camera settings are a reasonable starting point. A blurred attempt is a reason to enjoy the view directly, not to brace yourself against rocks or interfere with the paddler.
Cave access and the order of activities depend on tides, weather and local conditions. The Panak Island guide explains why a photograph of a particular passage is not a promise that your tour will follow the same route.
Photograph sunset as it happens
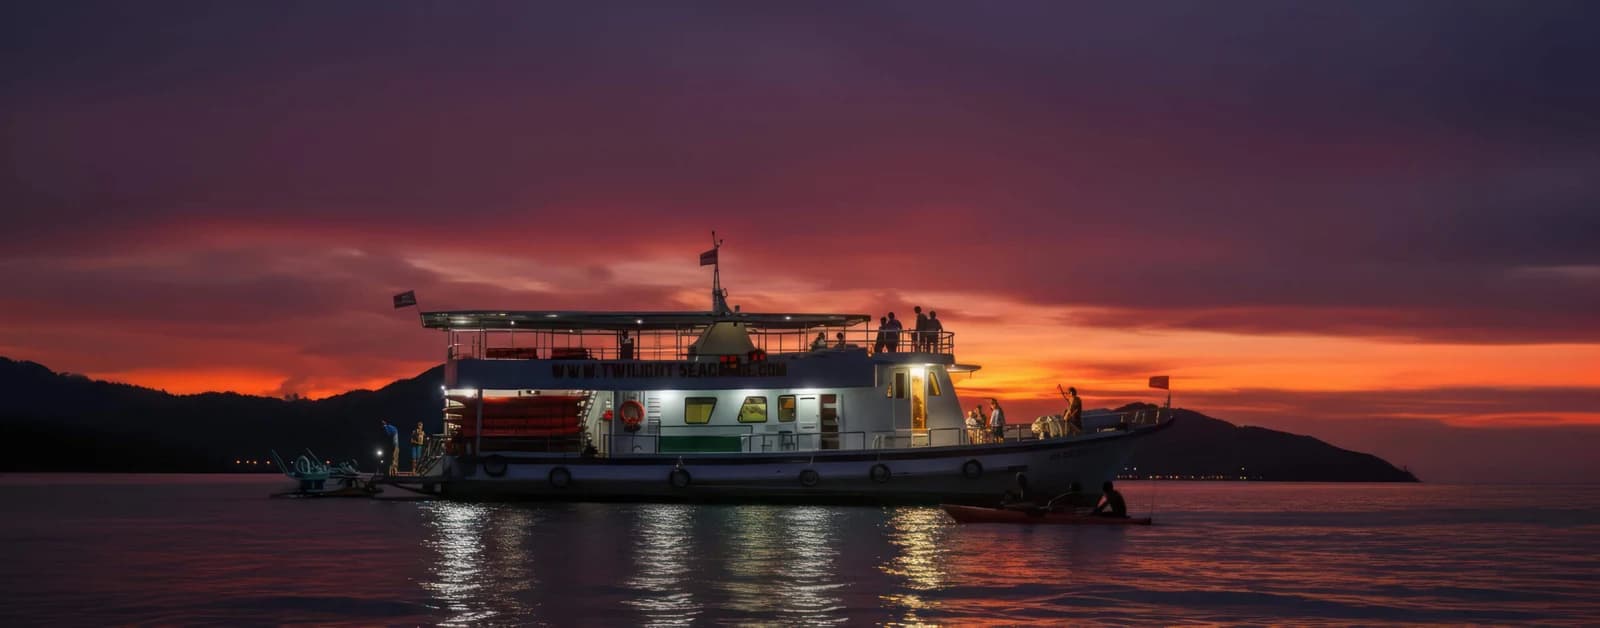
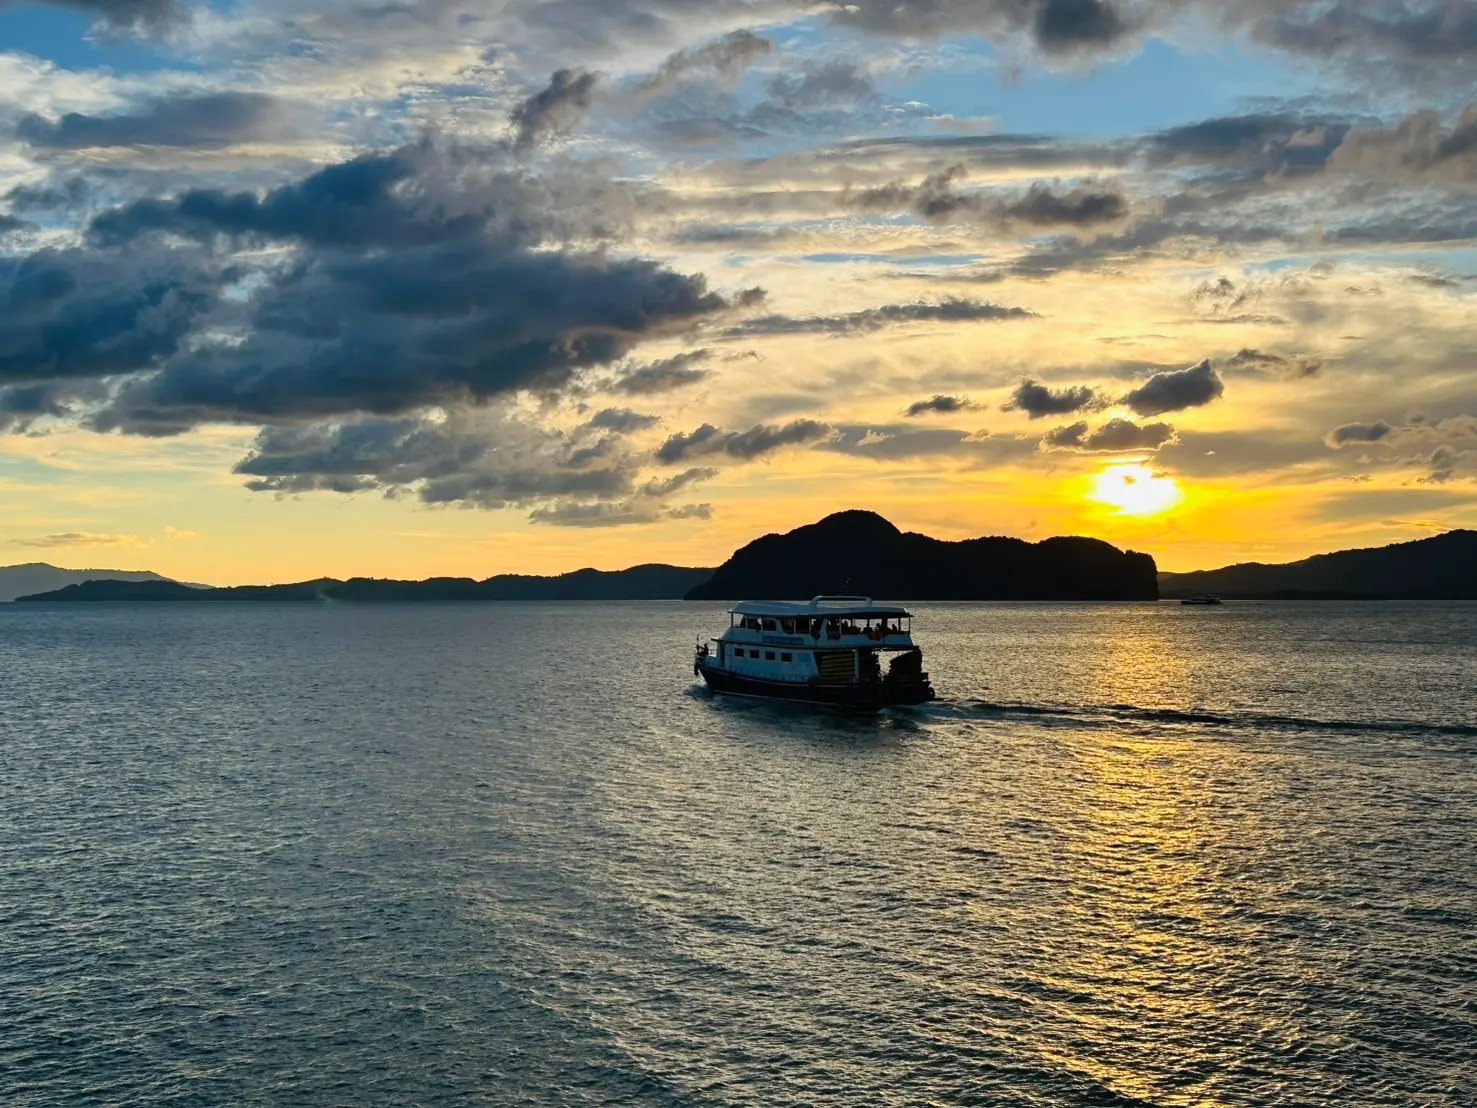
The Evening Glow itinerary includes dinner around sunset before the planned night paddle. Cloud cover and the day’s conditions determine the colours and visibility. You may see a bright opening under cloud, a soft evening sky or a more subdued scene. Look at what is actually in front of you rather than waiting for a particular colour to appear.
A boat or island silhouette can give a sunset photograph a clear subject. Check the horizon and try including some water as well as sky. Take a few pictures as the light changes, then put the camera away and enjoy your meal and surroundings. There is no need to turn the whole evening into a search for one image.
Sunset photographs do not show bioluminescent plankton. The natural glow is a separate after-dark experience, and its visibility is not guaranteed. A phone may struggle to record faint light from a moving canoe even when your eyes notice it. Follow the crew’s instructions about lights and phones; our plankton guide sets out realistic expectations.
Choose a small set of photographs afterwards
Once you are back somewhere dry, review the pictures and choose the ones that tell different parts of the day. A wide landscape, a group photograph and an evening scene usually offer more variety than many nearly identical frames. Keep a backup of your favourites before clearing space on your phone.
A simple caption can describe the moment without guessing the island name. If you are unsure where a photograph was taken, ask the team or use a broader description such as Phang Nga Bay. Your best memories may include an imperfect picture, a quiet stretch of water or a moment when you left the camera in the bag.
Questions before you go
Do I need a dedicated camera for the tour?
No. A phone with suitable water protection is a practical option. Bring equipment you can manage comfortably and put away quickly when the guide needs your attention.
Can I stand up in the canoe to take a photograph?
Stay seated and follow your paddler’s instructions. Compose from your position rather than standing, leaning out or reaching towards another canoe.
Will I be able to photograph glowing plankton?
Neither the display nor a successful photograph is guaranteed. Low light and canoe movement make photography difficult. Follow the crew’s instructions and be prepared to enjoy the experience without recording it.